How to Create an Eye Catching Display
Last year my daughter and I participated in a workshop “The Language of Objects“ on creating a beautiful vignette with Kara Rosenlund at The School in Sydney. Being a successful photographer, Kara has an amazing eye for beauty. We had such fun and I realised that as a decorator and renovator I naturally create this style of display to set the mood of a room. Using my favourite homewares, memory pieces, oddments and Kara’s tips on the best way to create a stunning vignette I now love expressing myself through this form of decor.
Vignettes are also a great idea when you are renting, or if you move into a shabby old house with grubby walls and floors like I am constantly doing with my renovating. I use the vignette to be the focal point in the room and direct the eye of the beholder away from the shabbiness so it goes unnoticed. It is amazing how many of our friends, who saw our current house before we moved in, who now think we have done work on the house due to the presentation. We haven’t as yet, but I have created a beautiful vignette in several places in the house, so it now looks lovely and homely.
So for those of you who need a little inspiration we have put together a recipe for creating a beautiful arrangement. With these simple steps to follow you too will be able to create a beautiful display, one that will be the focal point of your room.

Objective: To create a setting that people are intrigued by, that catches their focus and draws them to look closer. It is like creating a beautiful still life and the real key to success is making the objects look like they belong together beautifully, naturally!
Step 1
Find the “stage” where you want to display your collection of bits and bobs.
Where is the best position in the room for the eye to catch sight of the beautiful vignette? Is there a light source to enhance your setting?
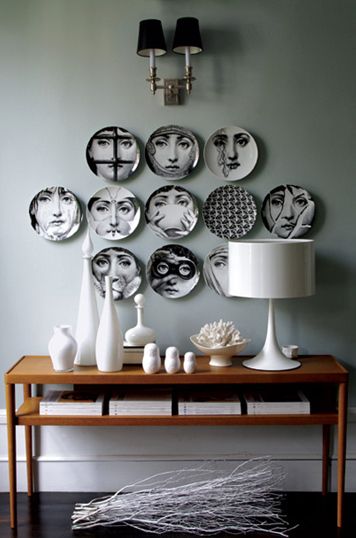
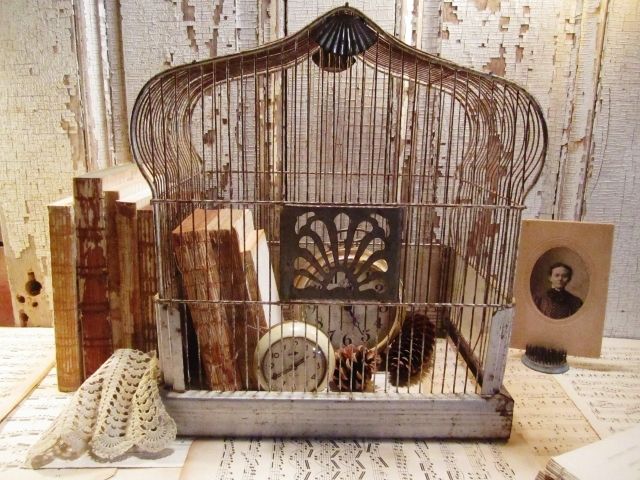
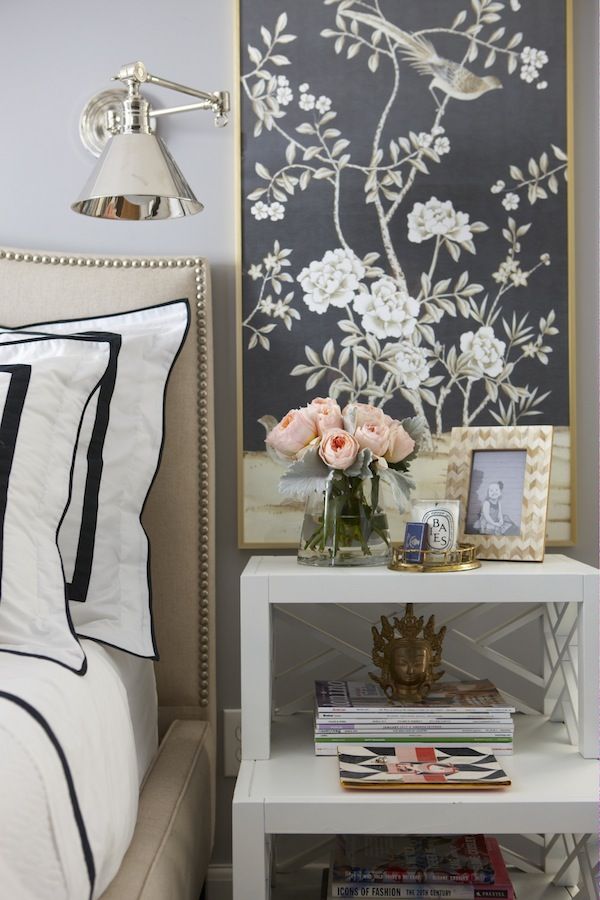
It is best if there is a clear backdrop though you can incorporate a piece of art work or wall hanging into the vignette. Think flat surfaces like tables, shelves, dressers or a window ledge.
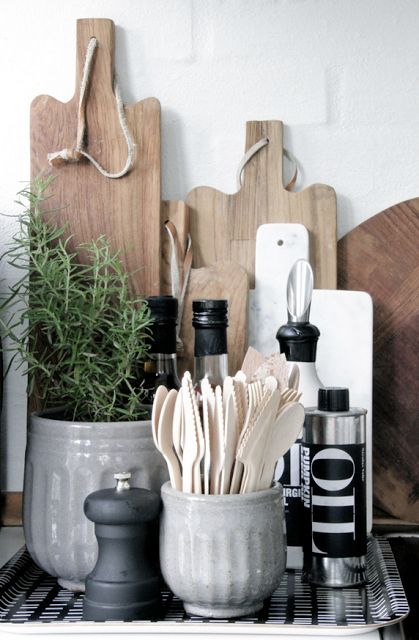
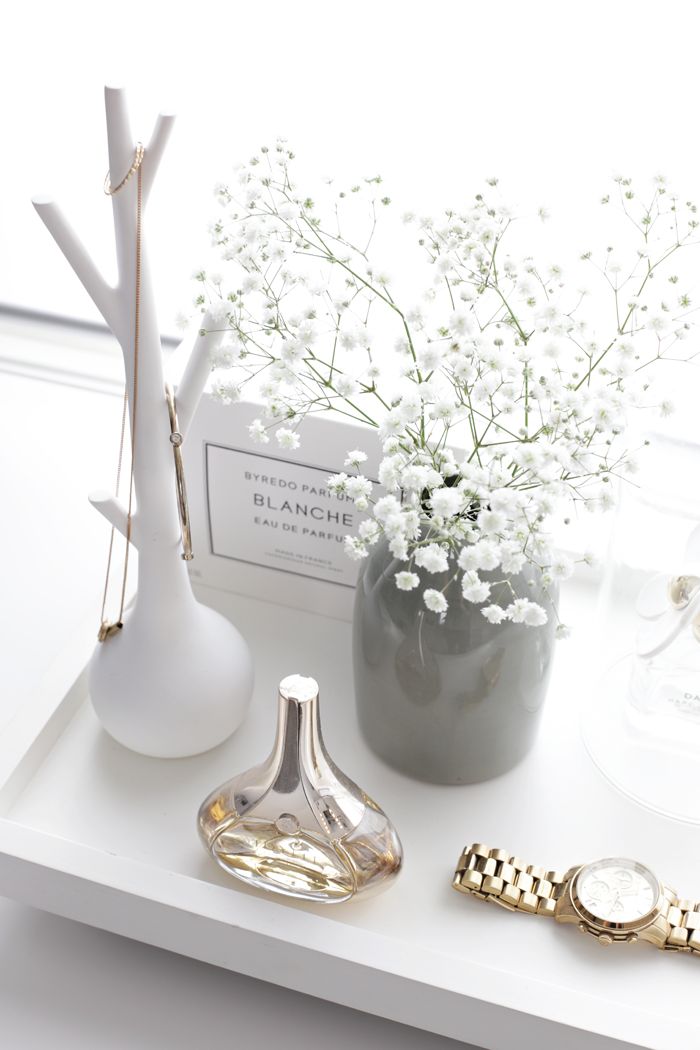
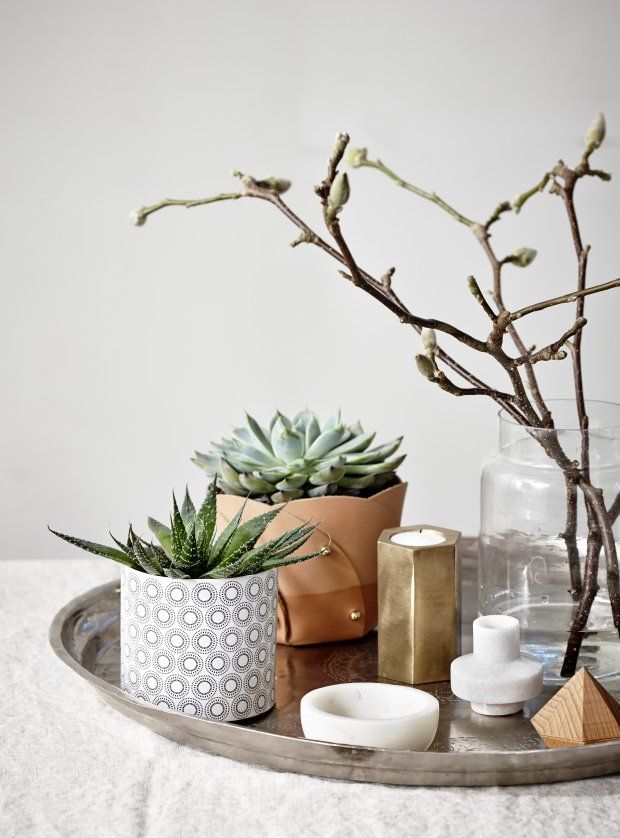
You can also display your vignette on a tray.
Step 2
When you are visualizing the shape of the vignette, it is easiest to imagine a clock.
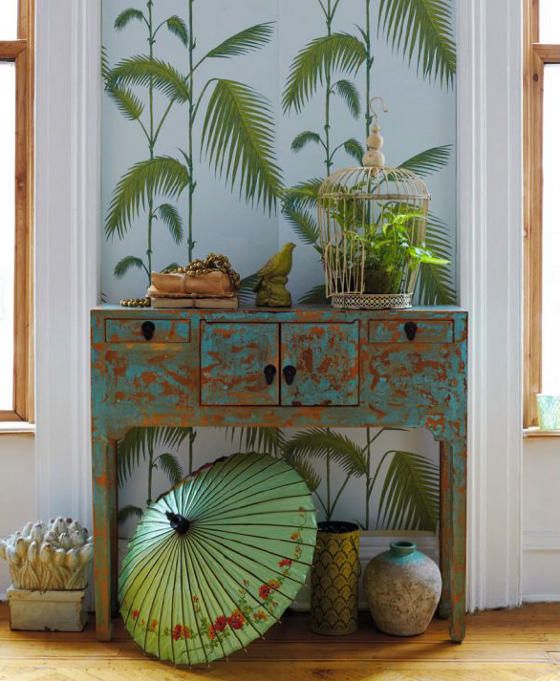
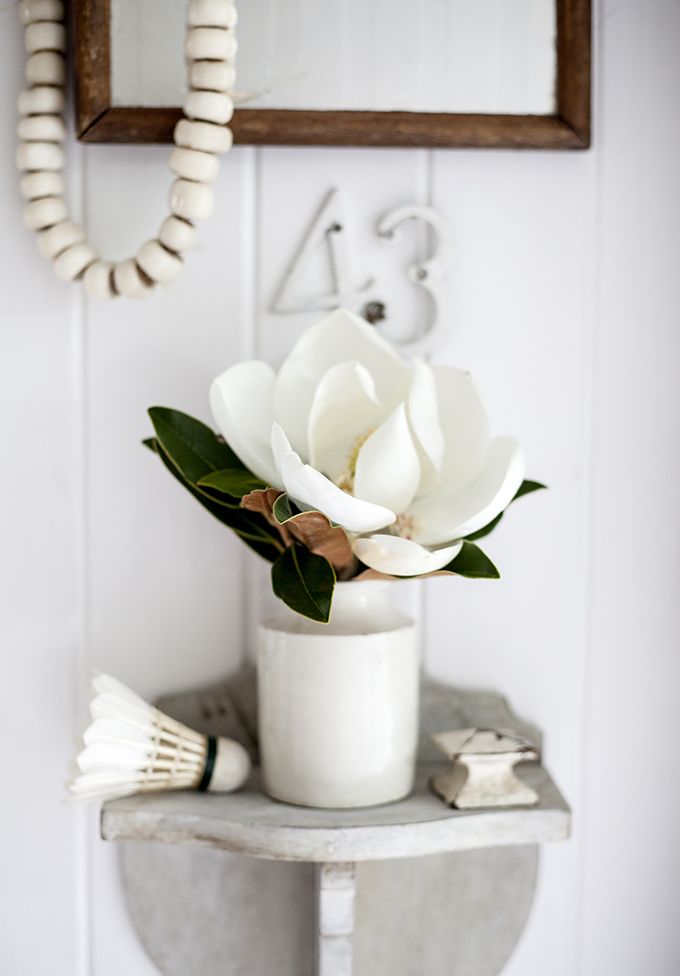
A circular shape display works best. Harmonise objects of different shapes and sizes.

Balance tall pieces with several small pieces. Horizontal and vertical layering.

Step 3
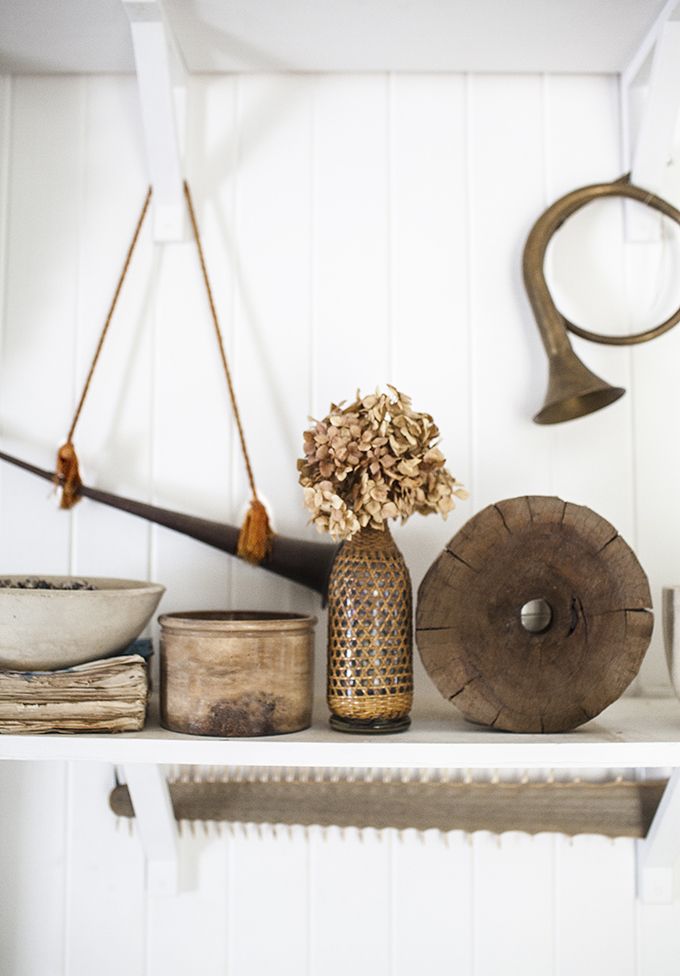
think about the theme of your vignette and collect together all the bits and bobs that you may wish to use in the display. Choose objects that support the style of the room.
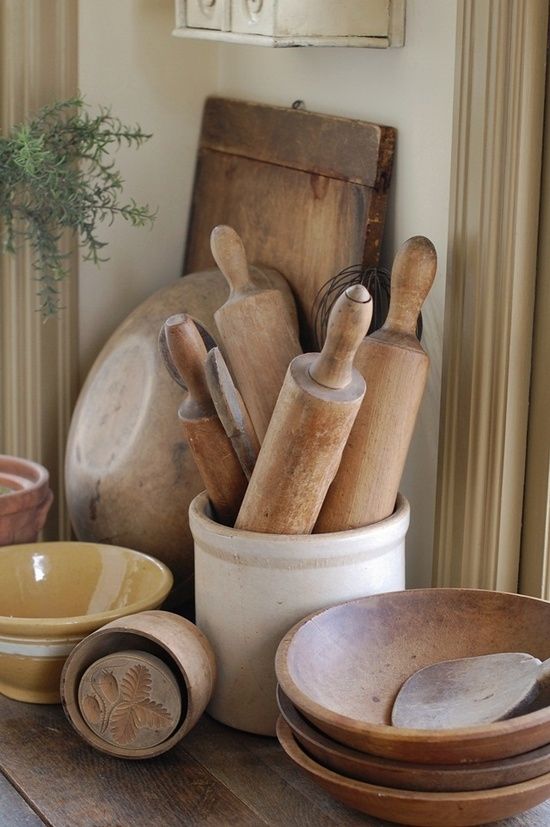
Lay them out over an area that you have easy access to i.e. a table. Be flexible and think outside the box when you are gathering your pieces. Anything can work so even leaves, twigs, old photos and bits of rope may add texture and intrigue to the vignette you are creating.

Step 4
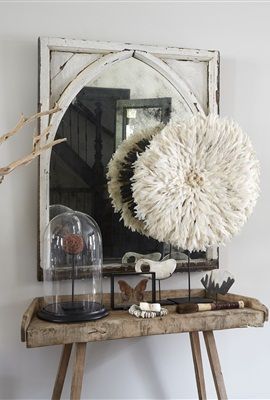
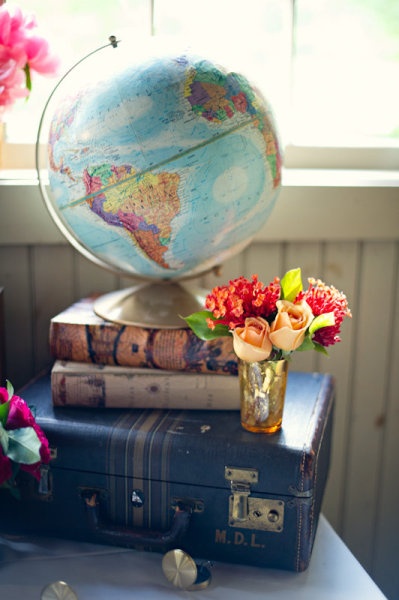
Now look closely at all the pieces you have to work with and find one piece that can be the “anchor” to your vignette. Try a few different options until you are happy. Think of things like vases, statues, mirrors, wall plaques that work best.
Step 5
Start layering and styling the pieces into place. You need to constantly stand back and look at what you have done to critique what works and what needs to be removed. If a piece is distracting you or dominating the look, then remove it.
Layering is the key, so use books, pedestals and plinths to elevate pieces to create different heights and create depth too.
Adding tit bits that lead you into the display work really well to draw the attention of the beholder.

Step 6
Finally have fun. Play around a bit and use quirky pieces, different textures and colours so that you create a masterpiece you will love.
Images with thanks to: kararosenlund,creativejuices,indiapiedaterre,elementsofstyle,hemtrender,dustjacketattic,tidbitsandtwine,athomeinlove,amara and desiretoinspire.