CREATE a new dining table and update your décor. Either revamp one you already have or find a cheap one at the op shop or tip shop near you. Paint can transform drab into fab.
Take a look at these helpful tips:
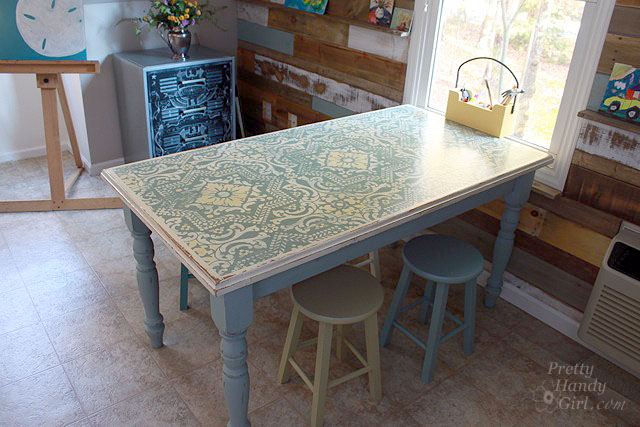
This is how Brittany from prettyhandygirl transformed her table from the rubbish pile.
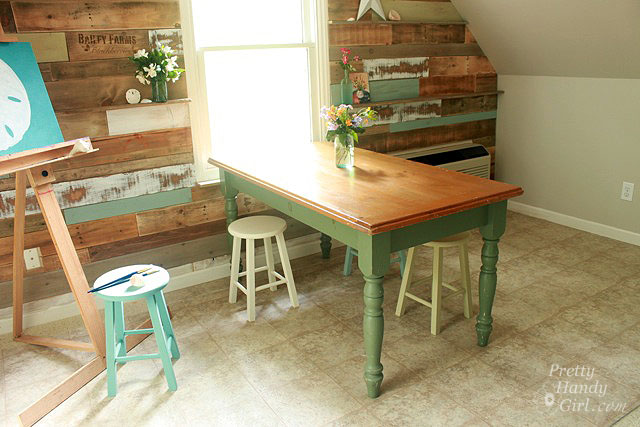
1. Find a table that fits your needs , consider the size, shape and style you like.
2. What you will need:
- Wood putty
- Primer
- Sandpaper
- Chalk paint –you can buy it or create your own
- Painters tape
- Tape measure
- Pencil
- Stencil – in a design you like
- Small flat paint brush
- Small paint roller and tray
- Stencil brush
- 5cm wide brush
- Antique glaze or clear lacquer
- Furniture wax – beeswax
- rags
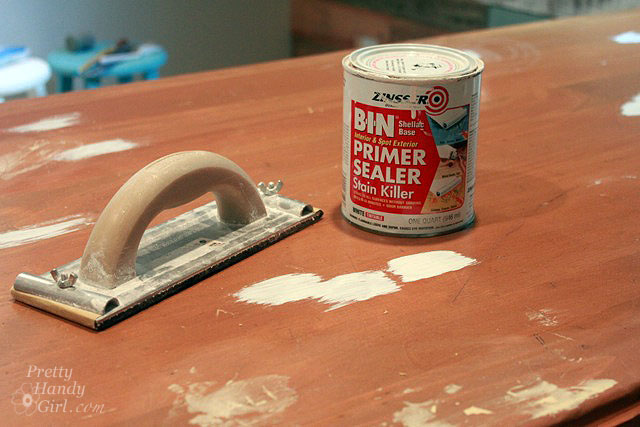
3. Preparation – Use wood putty to fill the really deep grooves and when this is dry sand all the surfaces of the table to smooth out any imperfections
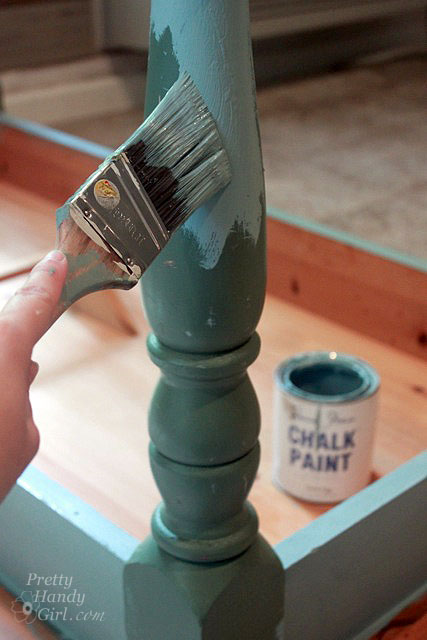
4. Bottoms up – Next flip the table and paint the legs the colour you desire

5. Foundations – Upright the table and paint the top with primer . When it is touch dry, paint a coat of white paint over the whole top of the table to provide an even coloured surface to paint the stencil on
-
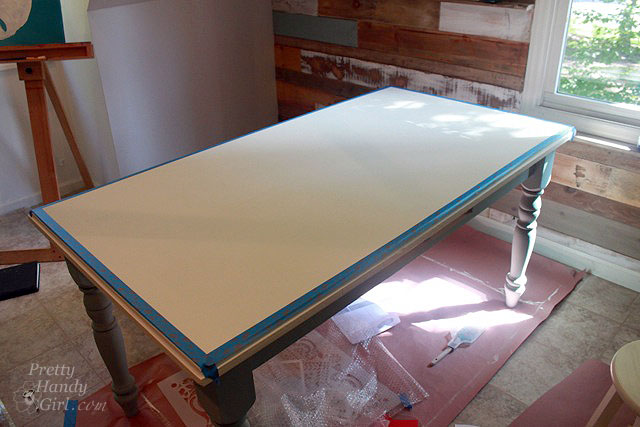
Tape Edges - via Pretty Handy Girl
6. Painter’s Tip – After the paint dries , tape off the edges with painter’s tape
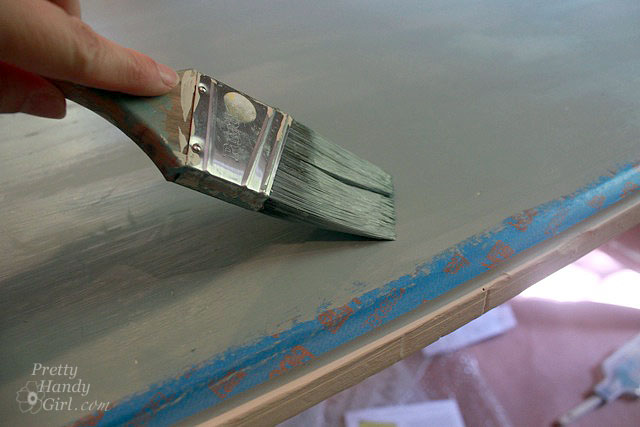
7. Decorating Time – Paint the base colour of the chalk paint you love
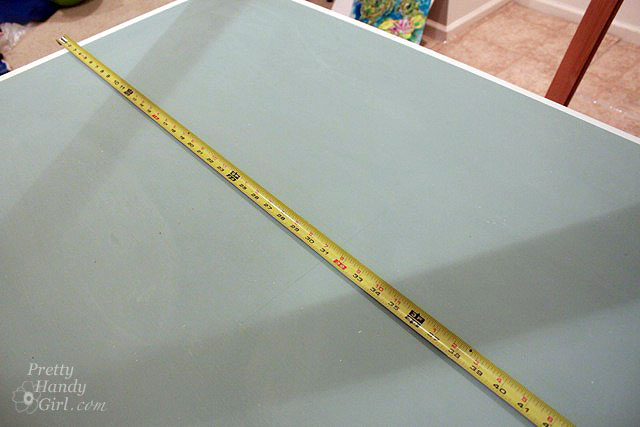
8. A Little Maths – Using the tape measure to measure both length and width , find the centre point of the table. Mark with pencil.This is the point you will centre the stencil on
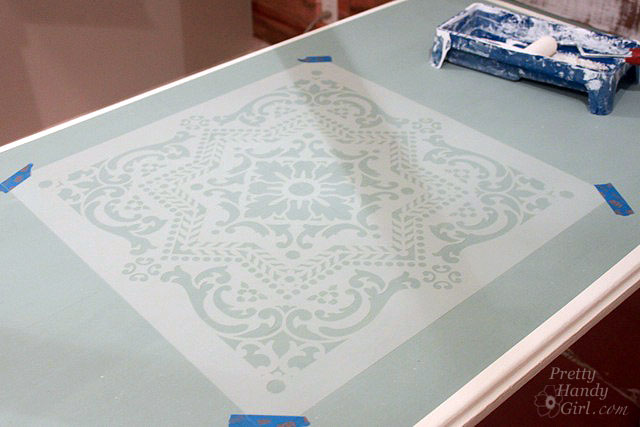
9. Design Time – Place the stencil centred on this point and tape down. Remove the tape on the edges of the table
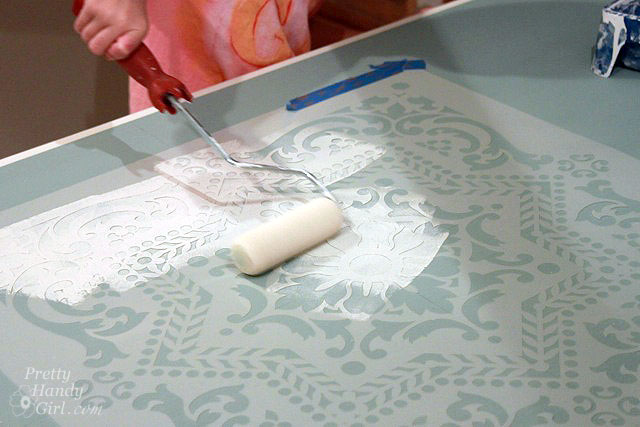
10. Creating Design – Putting a thin layer if paint on the roller, paint over the stencil. It is better to do more layers with less paint than have too much paint on your roller that can bleed
-
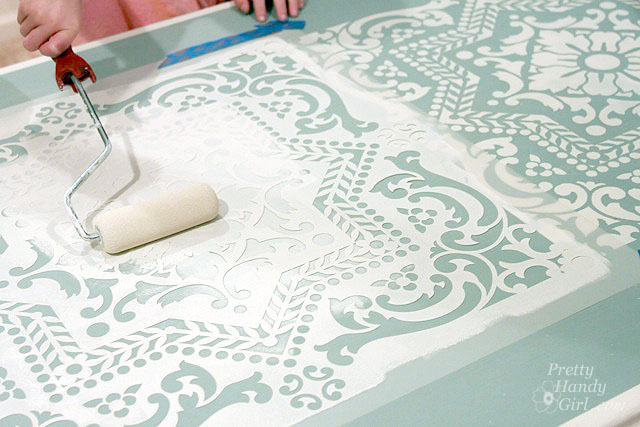
Continue Stencilling via Pretty Handy Girl
11. Carefully lift off the stencil and let the design dry slightly. Then place the stencil corner to corner against the first one to repeat the process
Keep Stencilling 12. Complete the Stencilling – Do the same on the remaining edges of the table that aren’t stencilled
Add your Favourite Colours 13. Add Your Colours – Using the small brush, handpaint any extra colour you desire into the stencil pattern
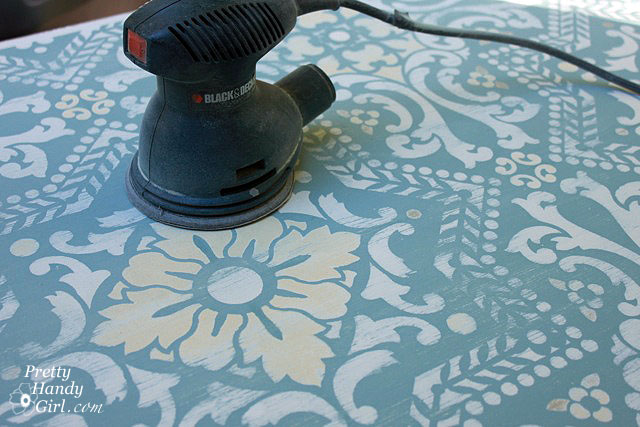
Sand off paint to age table via Pretty Handy Girl
14. Aging – Using the sandpaper , sand back layers of paint to create an aged look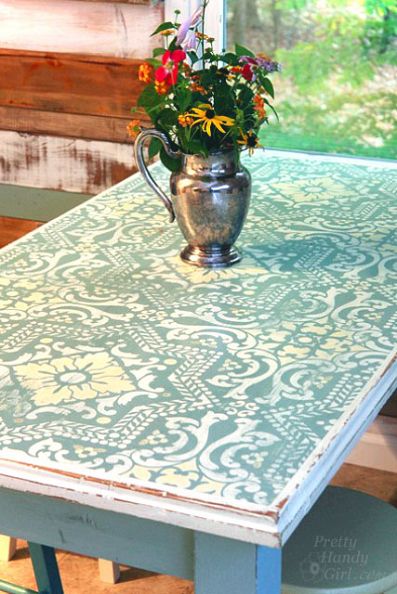
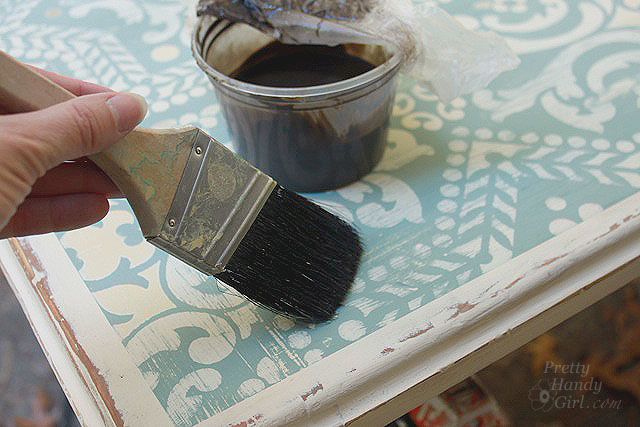
A Beautiful Table in the Style you love 15. Final Coat – Coat the whole surface with clear or antique lacquer to protect the design from wear and tear
Beautiful Stencilled Table What a great, low cost method for creating a beautiful addition to your home on a budget. We love stencilling!
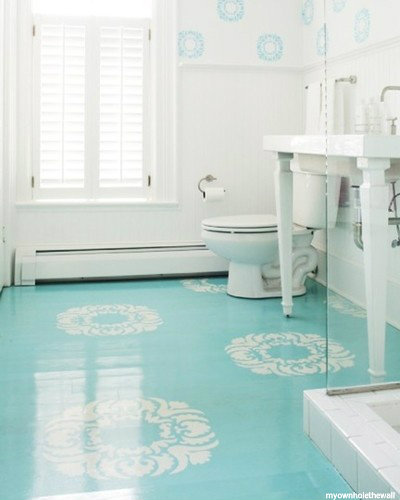
Stencil your floor 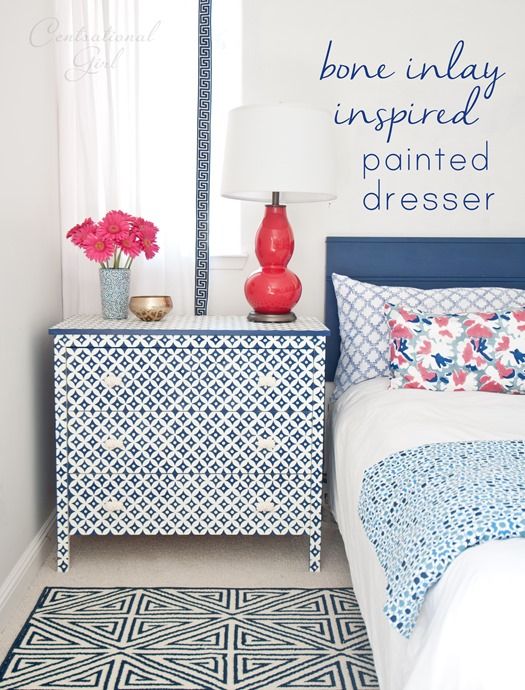
How beautiful is the finished chest 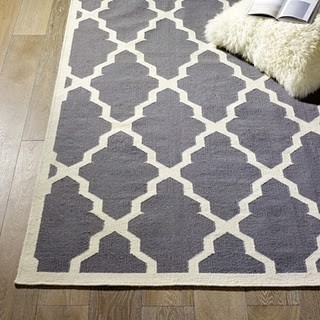
Stencilled Rug via Pudel-design
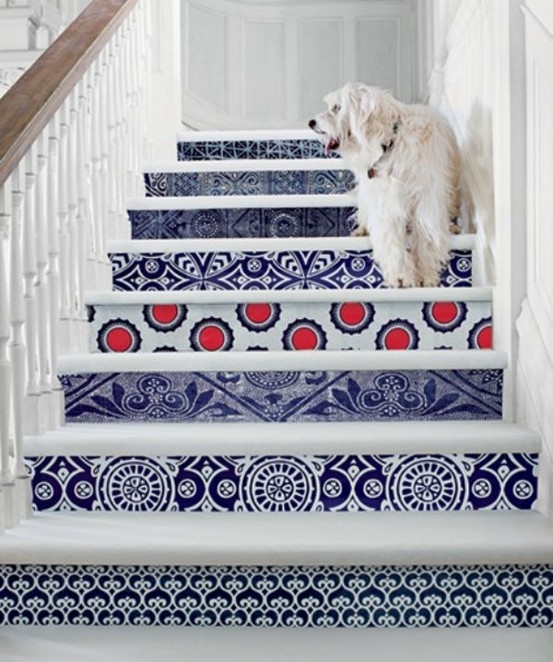
Stencilled Stairs Look Great Be Inspired and Start Creating today!